*The Faculty Manager HTML Editor allows you to create an HTML formatted version of the Instructor Bio for display on ACEweb Instructor Information page.
Please note: the HTML Editor is a basic HTML creator. It cannot be used for advanced HTML formatting such as floating images, adding tables, creating multi-level lists, etc.
To use the HTML Editor:
- Open the Instructor record.
- Select the Comments tab.
- Click the Generate HTML button just above the HTML field.
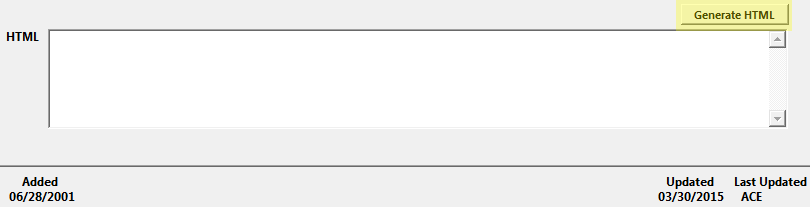
- The Editor window now opens. Note: if you have a Bio entered but no HTML one, the Editor will copy the Bio text into the Editor for you.
- To begin formatting the text, click the Edit Text button.
- Specific formatting options:
- Create a Heading - highlight the text then click the Heading button. Note: heading text must be on its own line.
- Bold, Italicize, or Change Font Size - highlight the word(s) then click the appropriate button.
- Change Color - highlight the word(s), click the Define Color button and select a color.
- Set Font Style - highlight the word(s), click the Define Font button and select a font.
- Add a Subscript or Superscript - highlight the character(s) then click the appropriate button.
- Add a Horizontal Line - add a line break where you want the line to be then click the Line button.
- Bulleted List - highlight the text you want to bullet, then click the List button. Note: each bulleted item must be on its own line before you click the button.
- Center a Paragraph - highlight the paragraph then click the Center button.
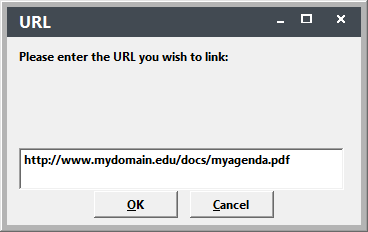
- Add a Hyperlink - a hyperlink is text that, if clicked, will open a specified URL. To create a hyperlink, highlight the text, click the Hyperlink button, then enter the URL:
- Add a Video Link - add a link to a video file. IMPORTANT: the video must reside in a web-accessible folder on your web server. You

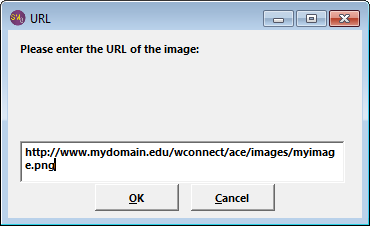
- Add an Image - IMPORTANT: the image must reside in your ACEweb Images folder (e.g. wconnect\ace\images) and you must enter the URL of the image.
To add an image, place your cursor where you want the image to be then click the Images button and enter the URL of the image:
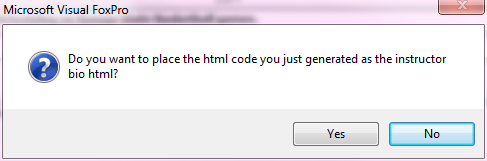
- When you are formatting the description, click the Done button. That will close the Editor window and return you to the Faculty window, and ask if you want to generate the HTML code and enter into the HTML field. Click the Yes button to generate the HTML.
- Your HTML formatted description is now entered into the HTML field: