You may choose to categorize your courses in the course list with the GroupOption INI setting.
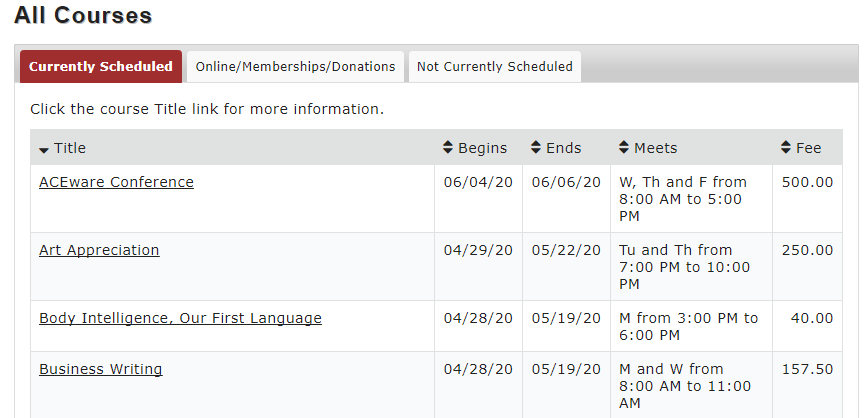
- GroupOption=0 - All courses are displayed in one long list on the course screen. Grouping codes set on the Course Main tab are ignored.
- *GroupOption=1 (default) - The course screen displays a list of active course groups taken from the Grouping codes added to the course records. Clicking on a group name brings up the list of courses which have that grouping code assigned.
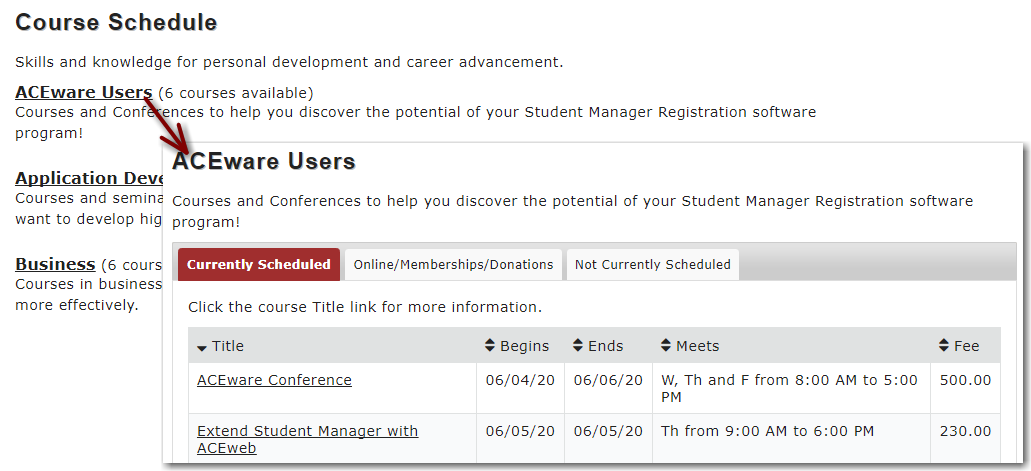
To utilize Group Option 1:
- Create Grouping codes and enter the description you want displayed in the course listing. The codes should be set to display on ACEweb.
- Assign the code to all courses that should be displayed in this group.
- *GroupOption=2 - The course screen displays a table of major groups. Clicking one of them brings up a list of its subgroups. Clicking on a subgroup name then lists the courses for the subgroup.
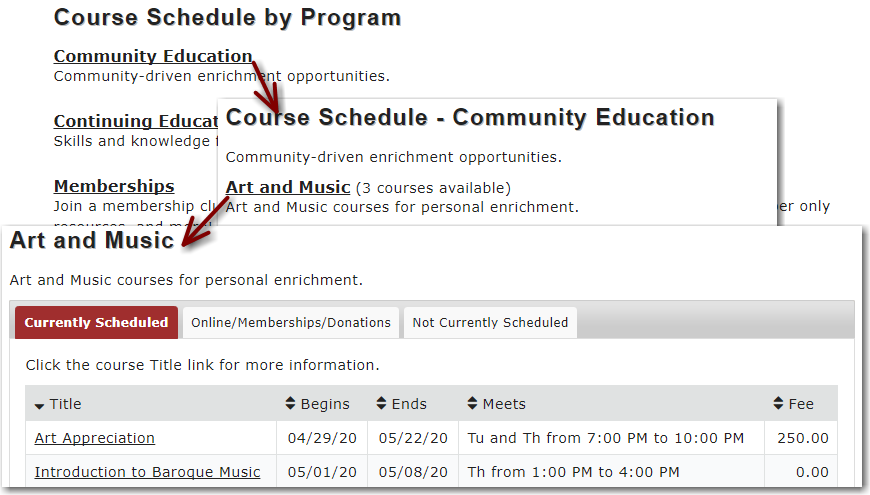
To utilize Group Option 2:
- Create Major Grouping codes that consist of a period (e.g. .COM for the Computer Courses Major category). The codes should be set to display on ACEweb.
- Create Minor Grouping Codes with the same first 3 characters (AFTER the period) as the Major Grouping Code, followed by 3 unique characters to designate the subgroup (e.g. COMBAS for Basic Computer Courses). The codes should be set to display on ACEweb.
- Add the Minor Grouping Code to all courses that should be displayed in the group.
*Courses with no grouping codes assigned will only display in the All Courses listing.